Learn the step-by-step process of sprouting potatoes, from selecting healthy tubers to planting sprouted potatoes in your garden. Discover tips on creating the ideal sprouting environment, monitoring growth, and maximizing your potato yield with this traditional yet effective method.
Contents:
Nowadays, potatoes constitute the most favorable yet complex part of a human’s casual diet. And when it comes to cultivating potatoes, most novices cannot assume where to start and how to arrange their gardening routine properly.
Thus, here comes the traditional strategy of sprouting potatoes, which originated long ago when people knew nothing about botany but relied on the most efficient solutions intuitively. Let us, more fortunate creations, learn what sprouting means and how you do get potatoes to sprout in the right manner.

What Is Unique about Sprouting Potatoes on Purpose?
Sprouting, or as it might be also mistakenly called “germination”, is the process that presupposes a seed that begins to grow and develop roots and shoots before getting into the soil. This process starts as soon as the tubers break dormancy and produce small buds, i.e., potato eyes, that are to eventually grow into new potato plants.
When the sprouting is managed on purpose, one may refer to the process as “chitting”, i.e., intentional sprouting in a controlled environment with the aim to produce healthy, viable shots and harvest a rich crop in the end. As such, sprouted potatoes typically have a shorter growing period but a more vibrant harvest season, maximized sustainable spacing and smooth yet occasional potato cultivation.
The Sprouting Process: Step by Step
In general, sprouting involves a series of carefully managed steps to ensure tubers produce healthy shots that are to facilitate plant development instead of hindering it. Here are the most fundamental stages that should be necessarily included in the process of chitting potatoes at home.
Step 1. Select Potatoes
First of all, it is important to select firm potatoes with no signs of diseases or other problems but new buds well in advance, for they require 4 to 6 weeks of exposure before planting. The better the tuber is, the richer the harvest may be. Besides, disease-free potatoes should minimize the risk of introducing pathogens to the ecosystem of your garden.
Step 2. Set Up the Sprouting Area
The environment plays a crucial role, for it should meet the general requirements of being cool and bright enough with an average temperature of 50-70°F (10-21°C). Avoid direct sunlight, as it may dry the tuber out or burn them, but consider natural and fluorescent light to provide plants with a sufficient volume of illuminance.
Step 3. Arrange the Potatoes
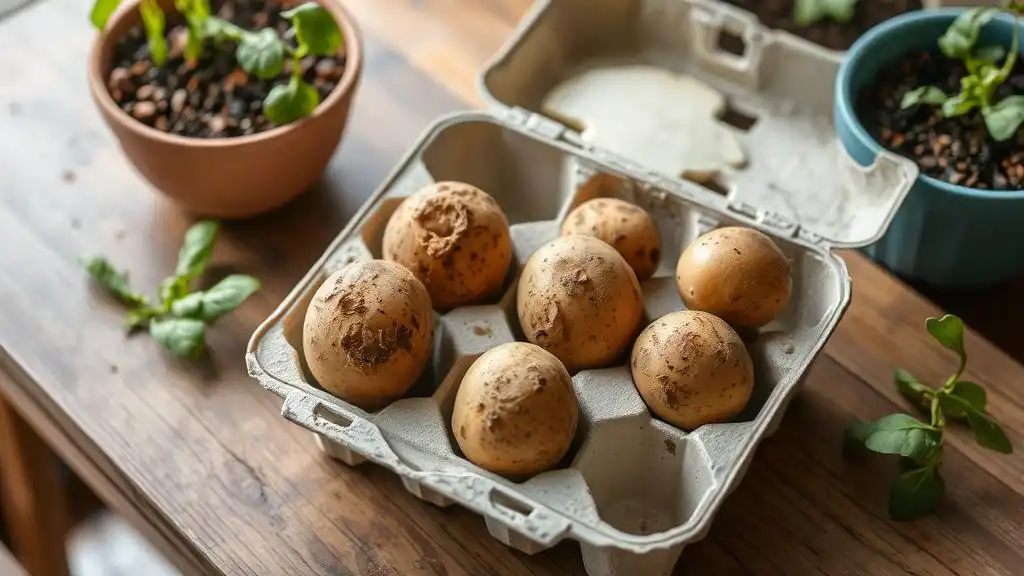
At this stage, many professional gardeners make use of egg cartons and place the potatoes in a single layer with the newly emerging eyes upwards, if these already exist. Good air circulation is the key, as the tubers can potentially suffer from mold and rot.

Step 4. Monitor Sprout Development
During the next few weeks, one should check the potatoes regularly, and sprouts should start to emerge from the eyes and expand gradually. In order to ensure even light exposure, rotate the potatoes as you like.
Step 5. Prepare for Planting
Imagine potatoes have finally developed enough sprouts to be cultivated. So, how do you plant a potato that has sprouted? Take the potatoes out of the box and cut them into 2 or more pieces, if a tuber is too big to be planted, and wait for a few more days for the fresh cuts to dry. Besides, when the sprouts are long and delicate, harden them off and gradually expose them to outdoor conditions a few days before planting.
Step 6. Plant the Sprouted Potatoes
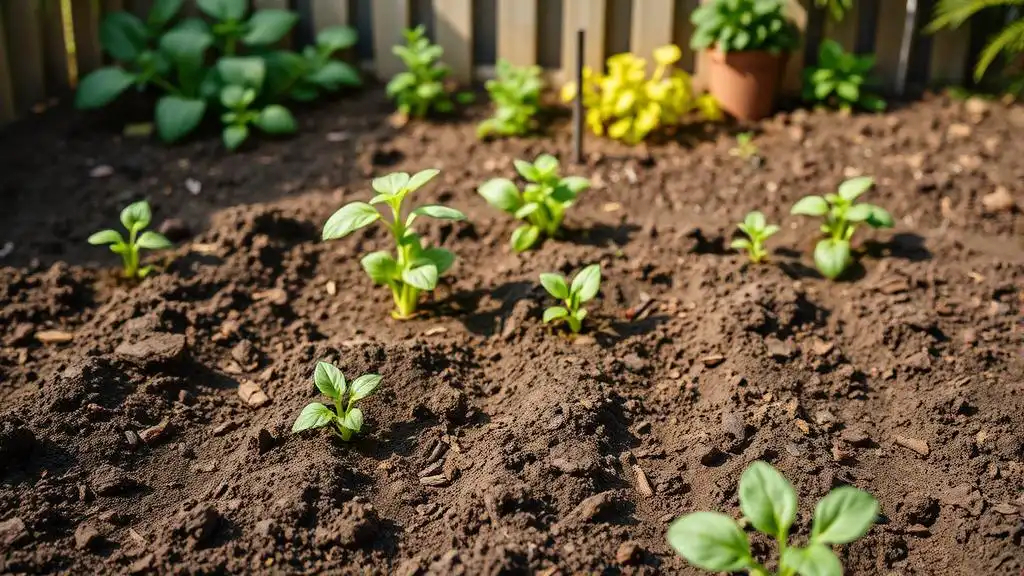
So, we have made it so far, congratulations! Now, as the tubers are ready to be planted and the weather is tolerable and consistently warm, dig trenches or holes about 4 inches (7.6 cm) deep and 12 (30.5 cm) inches apart, place potatoes with the sprouts upwards, and cover them with soil.
Additional Support is Always Needed
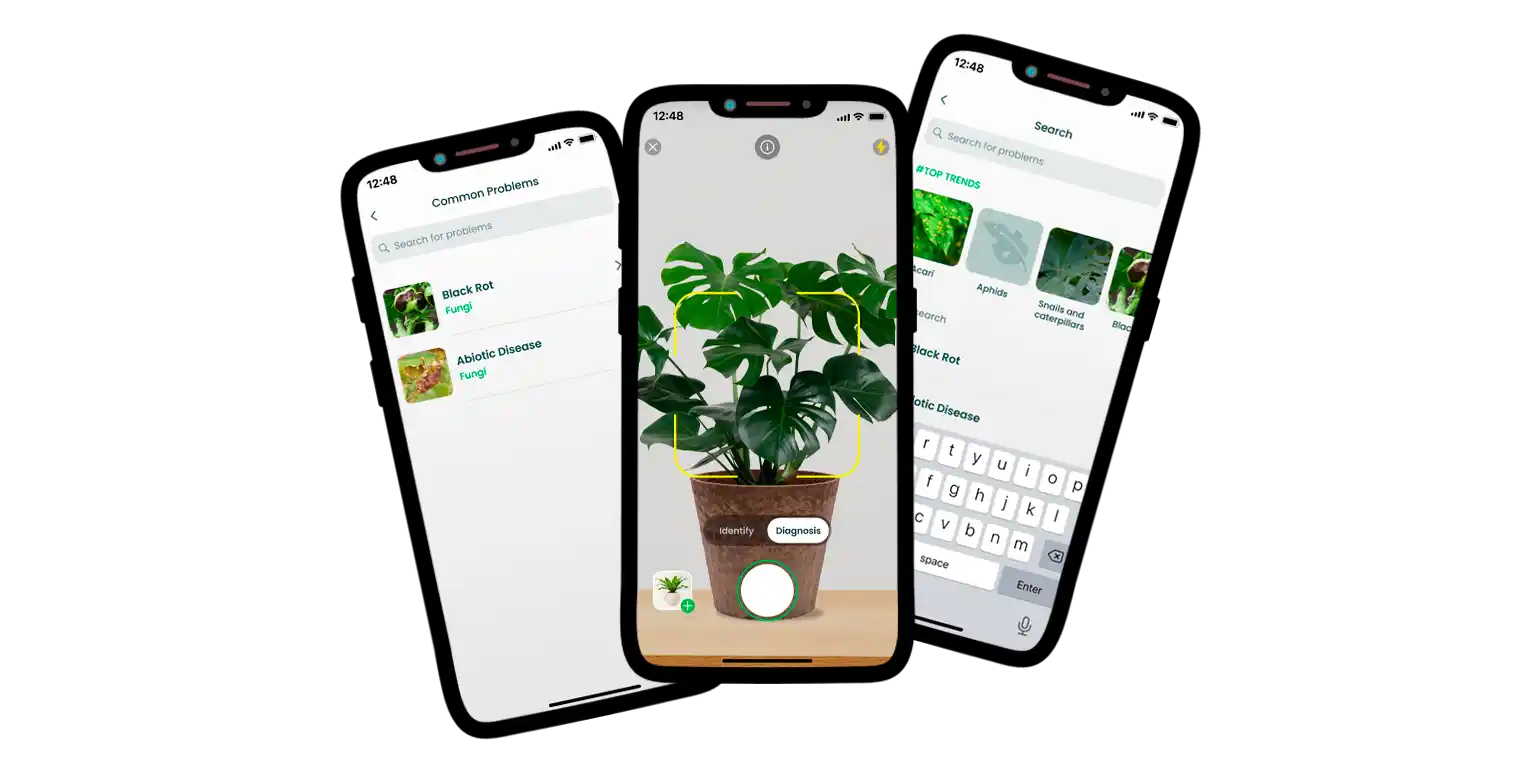
Though most people may go through this process with no assistance but guides by their side, it might be beneficial to consider platforms such as AI Plant Finder for a more organized and optimized experience ever. In broad terms, these apps usually offer plant care logs and botany encyclopedias with detailed info about each species, their growing needs, and tips, too.
Afraid of missing important gardening procedures like sprout rotation? Plant care reminders constitute a great solution for those who might but do not want to forget. Additionally, maintaining a digital log of your plants offers convenience and allows you to easily track watering, mulching, pruning, and other care activities for each specimen quickly. Receive alerts, monitor all the previous manipulations, and set up a plan for your plants to develop efficiently.
But if you do not know the name of a plant, utilize the “Plant ID” feature, take photos of your plants, and enjoy fast yet precise plant detection. What could be easier than taking pictures and choosing them in the app?

Barely do we imagine our lives without this omnipresent plant that offers more than just nutrition, but unique flavor and the feast of the forms. When one takes a chance to sprout potatoes, this may initially seem daunting, challenging traditional gardening perceptions rather than embracing time-honored practices.
Nevertheless, when done appropriately, potato sprouting may grant you a healthy plant development and rich harvest by the end of the season.